![]() |
I changed the focus from the yellow to the blue cages and lowered angle a bit. The yellow and red cages seem to be in focus less than when the camera was focused on the yellow cages. You will need to look into hyperfocus. 200mm @ f/13
At a long focal length, 200mm, the depth of field is shallow even at a rather small aperture, f/13.
I used a shorter focal length here, 42mm @ f/4.4
Here the aperture is close to wide open, f/4.4, the depth of field is greater then the above two photographs because of the shorter focal length.
Pelargonium 135mm @ f/22
Here again, long focal length decreases the depth of field.
Try some test images on your own camera.
©Damyon T. Verbo - all rights reserved
|

Tomato Cages
Tuesday, April 10, 2012
Depth of Field at the Garden Shop
Saturday, April 7, 2012
First Planting 2012 Square Foot Garden Plot
My original plan was to plant by 17 March 2012. That didn't happen.
On 18 March, I placed seeds into plastic sandwich bags along with damp paper towels to begin germination atop my refrigerator.
Why the top of my refrigerator? The process of refrigeration involves warm air. Warm air is blown from the bottom of the refrigerator up the back and exits across the top. I placed the seeds I wished to germinate atop the refrigerator to take advantage of the exiting warm air.
17 days later, the seeds had germinated. Each bag was labeled with the contents - vegetable, name, days to fruit and germination start date.
I originally wanted to use unbleached coffee filters, for two reasons-
- No bleach would be present that might damage the seedlings
- The paper of the filters is less porous, not allowing the roots to grow through the paper
Alas, the day I started the germination project, I had no coffee filters in the house. I made due with what I had, paper towels.
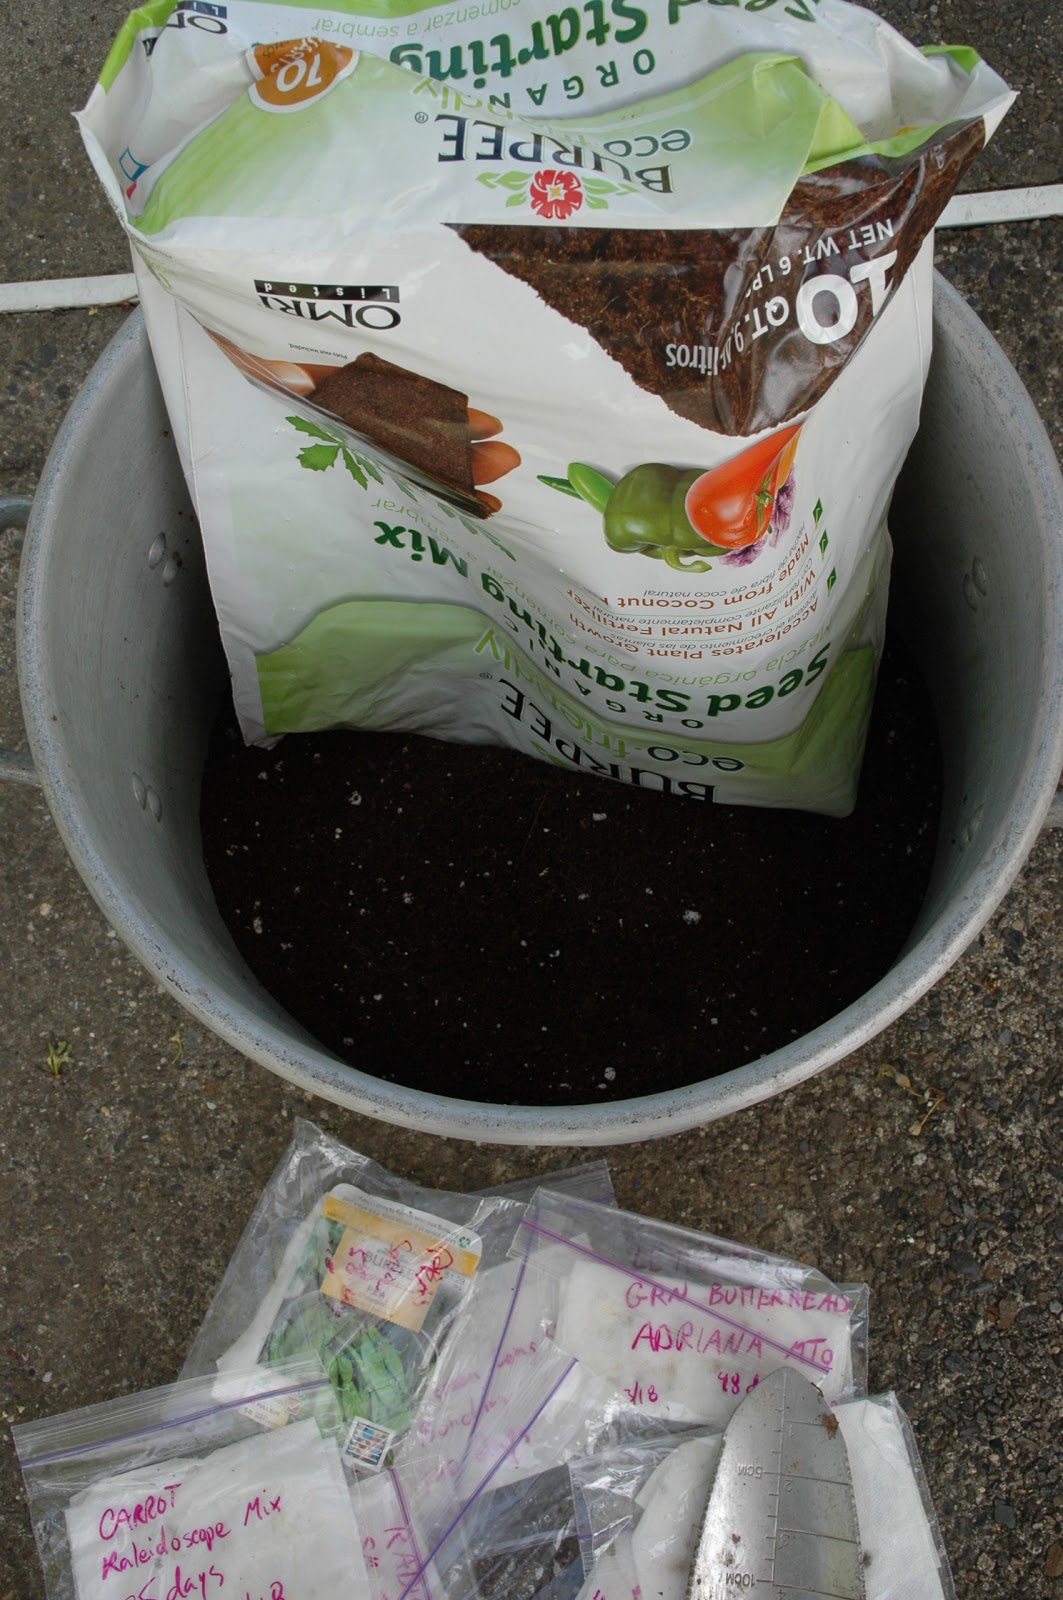
4 April 2012 and I was ready to plant my seeds in the square foot plot. I began with the following supplies -
- a 10 qt /9.5 l bag of organic seed starting mix to use as a bed for the new seedlings
- a huge stock pot I found in the trash to use as a mixing vessel
- a 6" /15 cm shovel
- a supply of water
I dumped the starting mix into the stock pot.
added water to damped the starting mix
enough water that when the mix was compressed, it retained the shape of my hand.
The next step was to stake the garden. I brought out a bucket of stakes I used last year to create the 1' x 1' /30cm x 30 cm grid within the 4' x 4' /120 cm x 120 cm plot,
a heavy hammer, in this case a ball peen, and twine.
I beat the first stake into the corner of the plot and extended a tape measure to 4' /120 cm and placed four more stakes along the tape measure at each 1' /30 cm increment.
When driving stakes it is important to hold the stake far from the end, so as not to strike your hand rather than the stake. Another tip is not to hold the stake with an iron grip, so that if you do miss the stake and hit your hand it won't do as much damage or alarm the neighbors with all the yelling and swearing. Wearing a glove also has the advantage of keeping the blood and broken bones together in a neat package until you arrive at the emergency room.
Once the stakes were set on the first side of the plot, I repeated the same process on an adjacent side.
Again on the third side.
And finally the fourth side.
It was time to begin stringing the stakes. I tied the end of the string onto the stake with a clove hitch.
Then finish it off with a half hitch to keep the string from untying.
I went around the stakes until the string crated a grid of 1' / 30 cm squares. There by getting its name "Square Foot Garden"
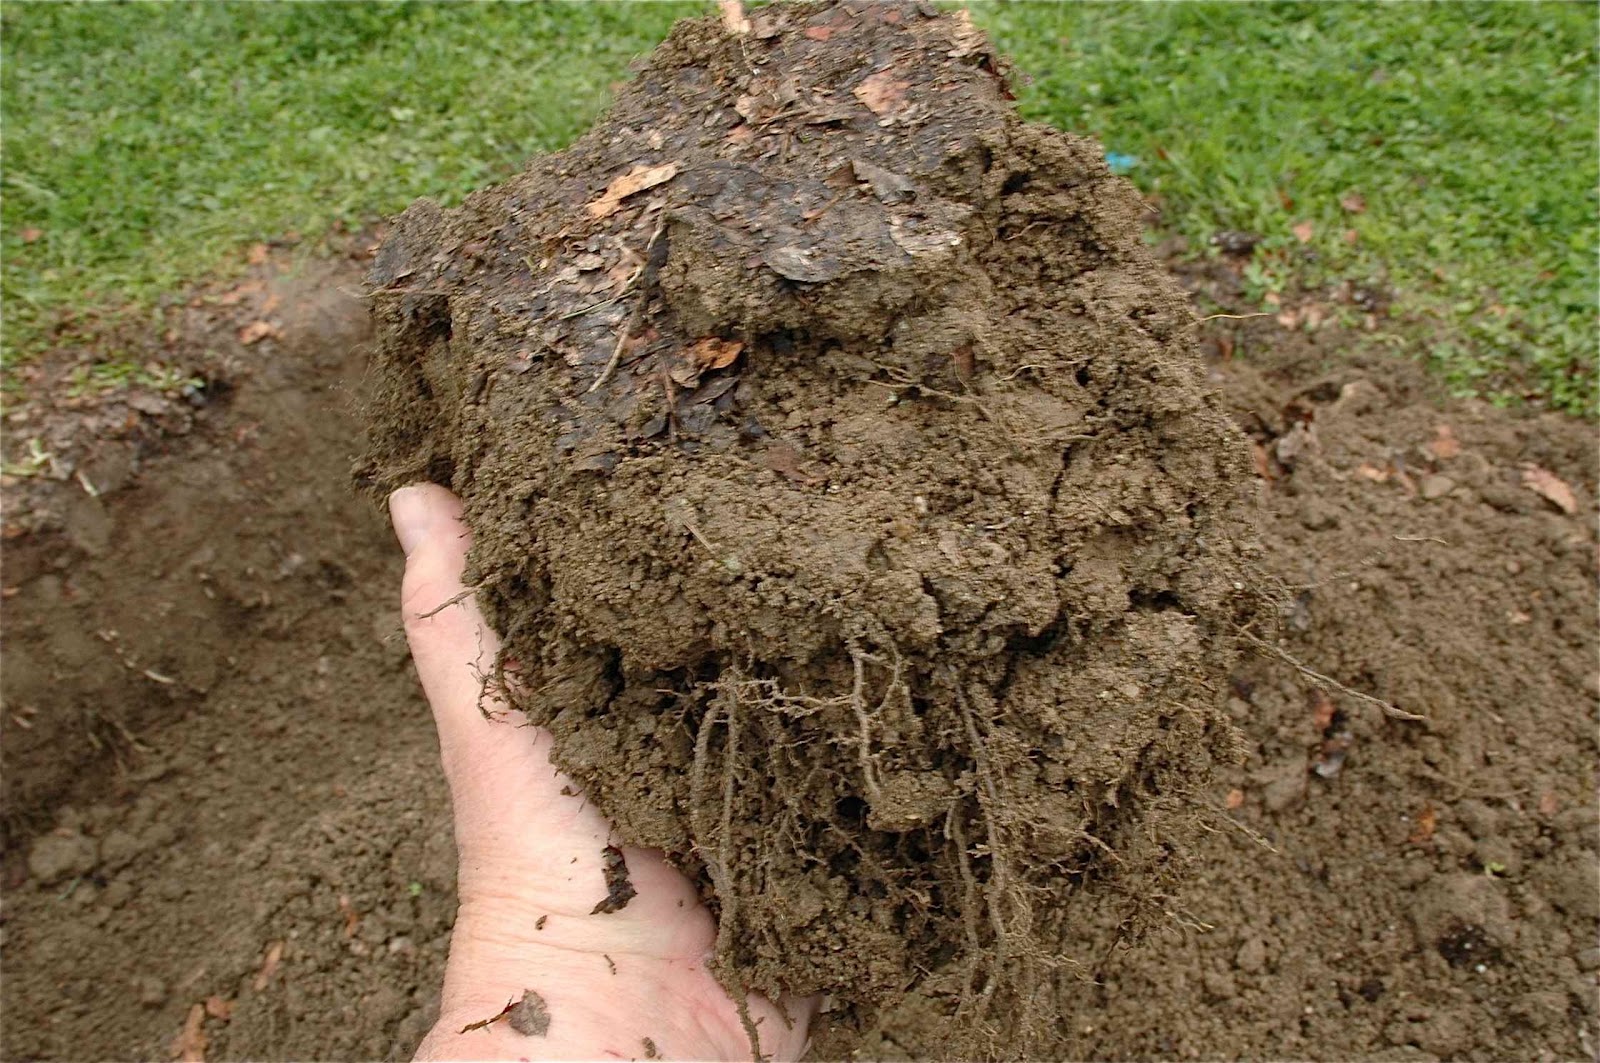
Each square was ready to plant. Well almost. I smoothed the surface of each square, removing any large objects from the surface. In this case, I removed some of those roots I said didn't need to be removed from the soil when I mixed in the organic matter. I also removed all large leaves from the surface. They would smother the tiny seedlings.
I then formed three trenches and placed starting mix in each trench, tamping down the damp mix in each trench.
I tried carefully to remove each seedling from the paper towel in which it was entwined. Some seedlings didn't make it and broke. Those seedlings that were successfully freed from the towel were placed in the trenches leaving approximately 1" /25 mm between seedling.
I then covered the seedlings with starting mix and lightly tamped the mix atop the seedlings. It wasn't necessary to have the leaves of the seedlings above the mix surface, they would find their way to the surface on their own.
I continued from square to square, flattening, smoothing, trenching, filling, tamping, planting, covering and tamping.
I photographed each square with the type seedling planted, for later reference.
One of the squares has half one seedling and half another.
These are the pea squares before I covered them. I changed the direction of the trenches for no good reason except I liked the design.
Here is the plot fully planted, ready for water. I watered by hose with the spray head set on shower. I have a valve between the spray head and the hose. I find this valve is a much better regulator than the squeeze handle of the spray head itself. I watered until the plot was thoroughly moist.
My first planting of my square foot garden for 2012 was complete.
©Damyon T. Verbo - all rights reserved
Thursday, April 5, 2012
Administrative Professionals Day
Way back in 1952, there was a nationwide shortage of skilled secretarial and office employees. Then the president of the National Secretaries Association, Mary Barrett, and the president of Dictaphone Corporation, C. King Woodbridge, along with the help of publicist Harry F. Klemfuss, came up with the idea for National Secretaries Week. They felt secretaries deserved appreciation for their professional efforts. They also thought it would heighten interest in the field of secretarial and administrative support careers.
Over the years the term, Secretaries Day, was renamed to reflect the changing and expanding field of administrative support. Today National Secretaries Week has morphed into Administrative Professionals Week, celebrated the last week of April each and every year.
There are many ways employers show their appreciation for their administrative staff. There are the traditional flowers, candy, luncheons, expense paid trips, time off even mink coats. Today the International Association of Administrative Professionals suggests employers pay for seminars and training to enhance and build their employees' administrative skills.Over the years the term, Secretaries Day, was renamed to reflect the changing and expanding field of administrative support. Today National Secretaries Week has morphed into Administrative Professionals Week, celebrated the last week of April each and every year.
Times have changed since the three martini lunch and the pencil skirt, haven't they?
©Damyon T. Verbo - all rights reserved
Labels:
administrative,
association,
day,
international,
lunch,
martini,
pencil,
professional,
secretary,
skirt.,
week
Monday, April 2, 2012
Square Foot Garden Plot Prep
At the end of last growing season I covered the plot with shredded tree leaves that fell on the lawn in the front of my house. Most of the leaves were from Ash, Norway Maple and Copper Beech trees. I reversed my leaf blower to suck the leaves through the blower where they were shredded and deposited into a 40 gallon/151 liter trash can. I then carried the leaves to my backyard and dumped them onto my square foot plot.
This is the square foot plot covered with shredded tree leaves on 14 March 2012
I placed an old tarp on the concrete patio surface to keep from staining the concrete. I then shoveled the shredded leaves onto the tarp. You can see the depressed soil in the plot.
There were approximately 1.75 cu yds/254.85 liters of leaves piled upon the plot in late Oct 2011
I used two different shovels for this project. A pointed spade and a square mouthed shovel. Both have long handles. I don't like the shorter D handled shovels. My back pleads with me not to use them.
The pointed spade is used when digging into a pile or into the soil. The pointed end cuts better than the square end. The square mouthed shovel is used on smooth hard surfaces, like the concrete of the patio or for straightening/smoothing the walls of a hole.
As you can see the shredder didn't do the best job of turning the leaves into small pieces. My leaf blower/leaf shredder is over 10 years old and the plastic blade is most likely dull. These clumps of leaves must be broken up. The leaves will not break down if they are left in clumps.
I loosened the soil in the plot. Using the pointed spade, the soil remained in clumps held together with roots from last years plants. Break up these soil clumps, too. It is not necessary to remove the roots.
I placed a few shovels full of leaves on an empty part of the tarp.
I then placed a layer of plot soil atop the pile of leaves. I continued to layer the two components until I had a lasagna-like pile on the tarp. I mixed the pile until it was as homogeneous as possible. Making sure the leaves are coated with the clay or sand and no clumps of any kind remain. I then shoveled that pile into the square foot plot.
I keep making lasagna piles until I had enough soil to raise the bed about 1'/30 cm above the lawn part of my yard. If you can call that green surface a lawn. I then soaked the soil until it was really, really damp. The fact that the bed is raised, compared to the bed last year, means I won't have the drainage problem I had last May when the rains came for days on end and I lost quite a few of my plants.
To compare the soil structure with my last soil test, I filled the same container 1/3 full of the new soil mix.
I then filled the container with water, leaving about 1"/ 2.5 cm air at the top in order to help mixing the soil and water into a suspension.
As you can see from these two side by side containers, there is much more organic matter in the container on the right.
I found this little guy in my first shovelful of soil from the square foot plot. Earth worms will eat the organic matter added to the soil leaving behind nutrients more readily available to the plants. They also aerate as they borrow thorough the soil leaving channels for water flow.
An interesting fact about earthworms is that there were no earthworms in the Americas until the voyages to the new world with and after Columbus. The earthworms hitchhiked from Europe in the earth loaded into the ships as ballast which was later unloaded onto the soil in the Americas.
©Damyon T. Verbo - all rights reserved
Thursday, March 29, 2012
Most Active Birdbath Spring 2012
Wednesday, 28 March, the day began with freezing temperatures and the water was frozen in the birdbath. Temperatures reached the 70ºF / 20ºC today and it was the most active day for animals in the birdbath.
What a difference a day makes.
©Damyon T. Verbo - all rights reserved
Images captured at a rate of 1frame/5sec and slowed to 25% of normal replay rate of 30frames/sec
What a difference a day makes.
©Damyon T. Verbo - all rights reserved
Tuesday, March 27, 2012
Cleanest Bird In My Garden
Robins have to be the cleanest birds in my garden. Below is a compilation over several days of time lapse images in my backyard birdbath.
March 20 through March 25, 2012
©Damyon T. Verbo - all rights reserved
Saturday, March 24, 2012
Easy Soil Structure Test
Last year I hurriedly constructed a square foot garden. I dug down 2' / 31cm into my "lawn". The details can be found here on my original post. This year I am testing the structure of the soil. I know it wasn't as good as need be.
I found an empty jar with a lid in the recycling bin.
Out to the garden
Loosen the soil and break up the big clods
Fill about 1/3 of the jar with soil
Add water, leaving about 1" / 25mm of air at the top.
Tightly screw on the top.
Shake the jar until all the soil is in suspension.
Then shake it a little more, just to be sure.
What you will have should look like this.
You can see the heavy grains of sand immediately separated out of the suspension after the shaking stopped.
Now let the suspension settle overnight.
Close to 16 hours later, this is what I have.
What are do you see?
The sand that settled to the bottom is there on the right.
Clay, that is the major component of my soil has settled on the left.
What little organic matter in my soil is floating on the top.
The results of this test tell me that my soil is nearly 50/50 sand/clay particles. I lack organic material.
Get out and test your soil. Let me know what you find.
Links
©Damyon T. Verbo - all rights reserved
Subscribe to:
Posts (Atom)