
At the end of last growing season I covered the plot with shredded tree leaves that fell on the lawn in the front of my house. Most of the leaves were from Ash, Norway Maple and Copper Beech trees. I reversed my leaf blower to suck the leaves through the blower where they were shredded and deposited into a 40 gallon/151 liter trash can. I then carried the leaves to my backyard and dumped them onto my square foot plot.

This is the square foot plot covered with shredded tree leaves on 14 March 2012

I placed an old tarp on the concrete patio surface to keep from staining the concrete. I then shoveled the shredded leaves onto the tarp. You can see the depressed soil in the plot.

There were approximately 1.75 cu yds/254.85 liters of leaves piled upon the plot in late Oct 2011

I used two different shovels for this project. A pointed spade and a square mouthed shovel. Both have long handles. I don't like the shorter D handled shovels. My back pleads with me not to use them.

The pointed spade is used when digging into a pile or into the soil. The pointed end cuts better than the square end. The square mouthed shovel is used on smooth hard surfaces, like the concrete of the patio or for straightening/smoothing the walls of a hole.

As you can see the shredder didn't do the best job of turning the leaves into small pieces. My leaf blower/leaf shredder is over 10 years old and the plastic blade is most likely dull. These clumps of leaves must be broken up. The leaves will not break down if they are left in clumps.
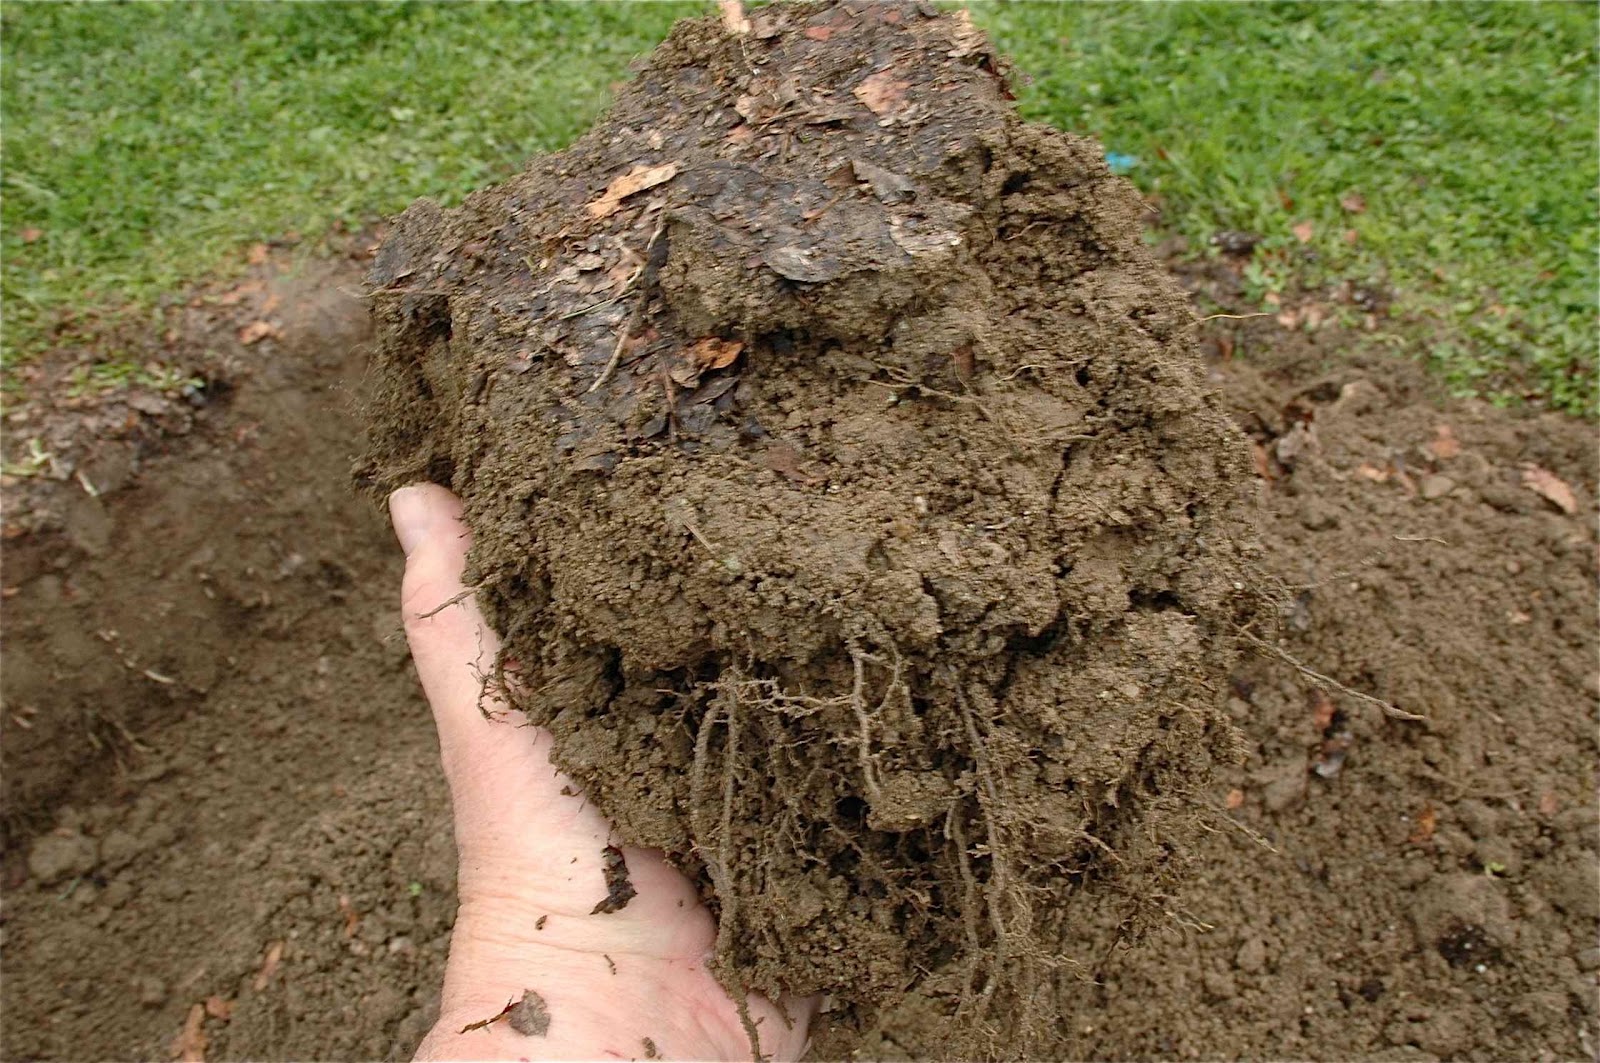
I loosened the soil in the plot. Using the pointed spade, the soil remained in clumps held together with roots from last years plants. Break up these soil clumps, too. It is not necessary to remove the roots.

I placed a few shovels full of leaves on an empty part of the tarp.

I then placed a layer of plot soil atop the pile of leaves. I continued to layer the two components until I had a lasagna-like pile on the tarp. I mixed the pile until it was as homogeneous as possible. Making sure the leaves are coated with the clay or sand and no clumps of any kind remain. I then shoveled that pile into the square foot plot.

I keep making lasagna piles until I had enough soil to raise the bed about 1'/30 cm above the lawn part of my yard. If you can call that green surface a lawn. I then soaked the soil until it was really, really damp. The fact that the bed is raised, compared to the bed last year, means I won't have the drainage problem I had last May when the rains came for days on end and I lost quite a few of my plants.

To compare the soil structure with my last soil test, I filled the same container 1/3 full of the new soil mix.

I then filled the container with water, leaving about 1"/ 2.5 cm air at the top in order to help mixing the soil and water into a suspension.


As you can see from these two side by side containers, there is much more organic matter in the container on the right.

I found this little guy in my first shovelful of soil from the square foot plot. Earth worms will eat the organic matter added to the soil leaving behind nutrients more readily available to the plants. They also aerate as they borrow thorough the soil leaving channels for water flow.
An interesting fact about earthworms is that there were no earthworms in the Americas until the voyages to the new world with and after Columbus. The earthworms hitchhiked from Europe in the earth loaded into the ships as ballast which was later unloaded onto the soil in the Americas.
©Damyon T. Verbo - all rights reserved


