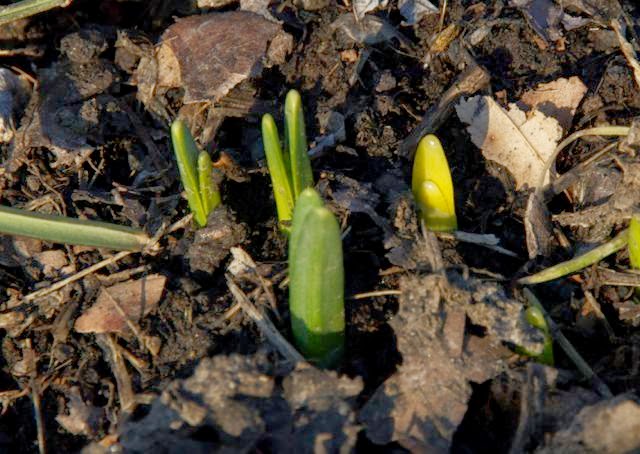
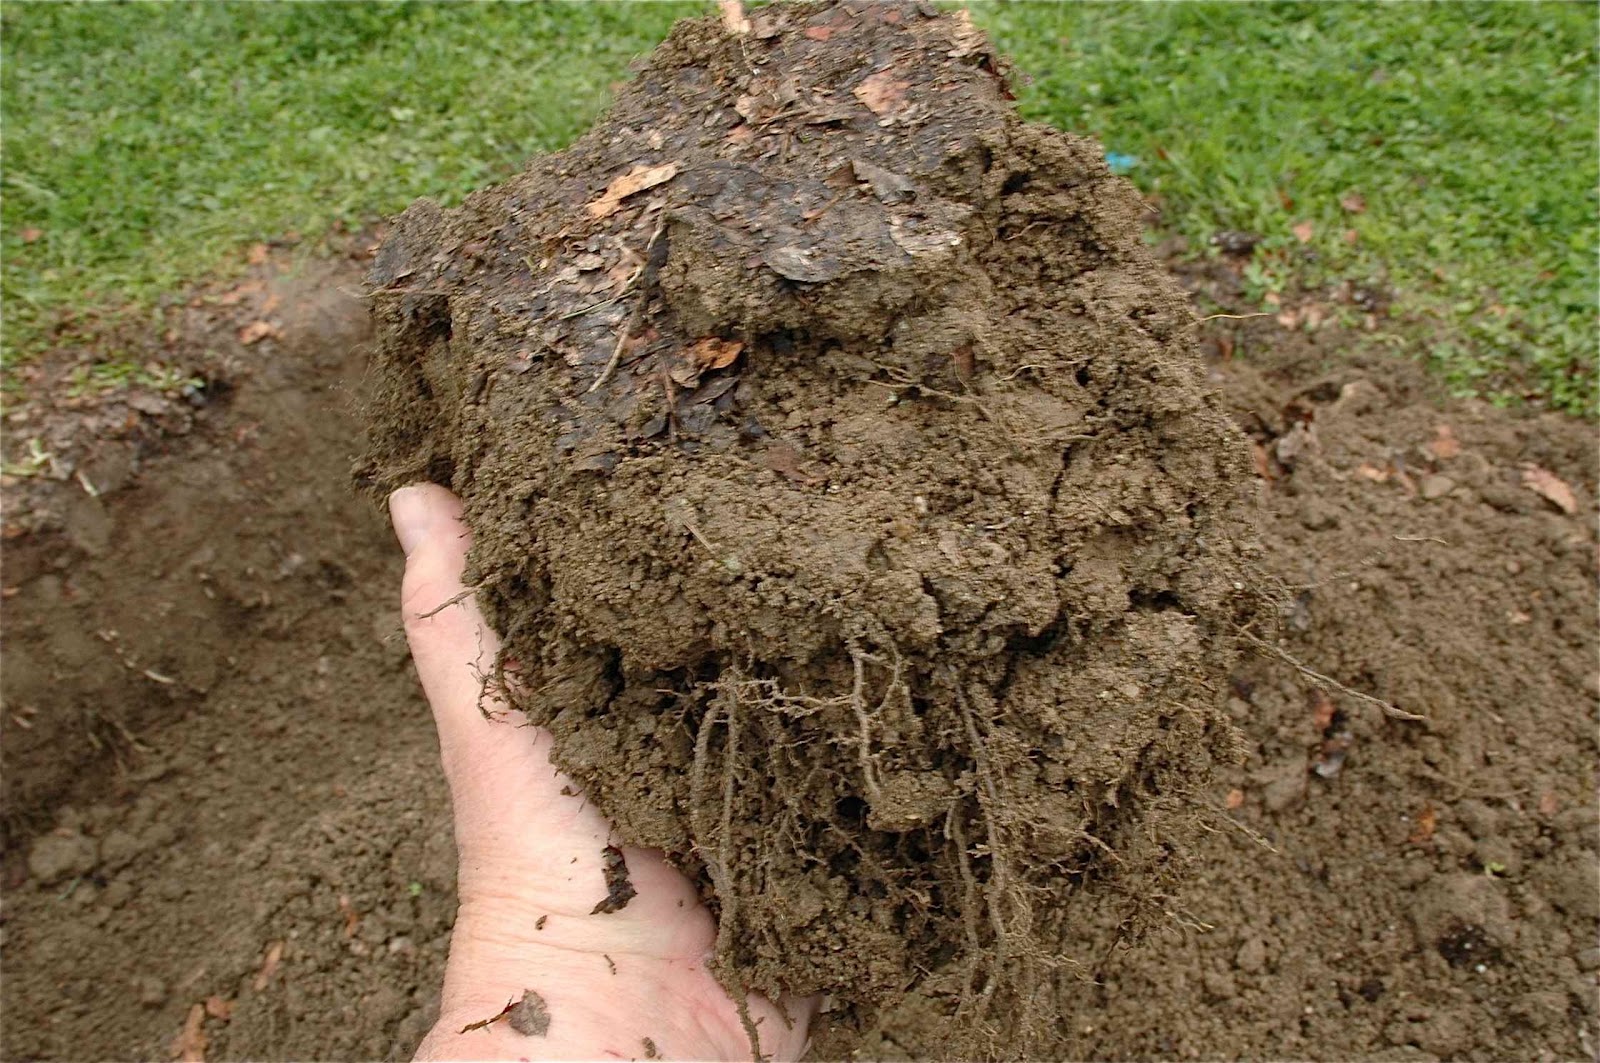
The winter has been rather harsh here. A great deal of snow was shoveled. Much more than normal. Temperatures were low into the first month of spring. But as Zeus commands Hades to release Persephone each spring, the earth awakes.
I began the growing season late again this year as last. The reason was one of mixed cold temperatures and malaise. I missed the sowing of peas and onions for the second year in a row. I do so love freshly picked snow peas. Not to worry. The temperature rose above 68ºF/20ºC this week. I feel planting fever coming on.
First action I took in the square foot garden was sprinkling two tablespoons of my organic fertilizer on each square foot section of both raised beds. Second action was to mixing it into the first inch or so of planting medium.
What you see in the photograph are the two of the four drip irrigation tubes I use to water the raised beds along with the fertilizer atop the growing medium.
Fertilizer mixed into the growing medium.
Third action was to cover both raised beds with red plastic mulch.
The mulch will server many purposes.
Warm the soil
Keep out any unwanted seeds
Retain moisture
Reflect light up under the leaves.
Persephone is only upon the earth for a short time. Don't just stand there, do something in your garden.
To bring you up to date, last I mentioned the batch of organic fertilizer it was mixed and wet and in a tray. It consisted of three components. The first two components were equal parts dry blood and bone meals. The third was to be dry wood ashes. However, I received the wood ashes from my neighbor in a plastic bag and they were wet. Impatient, I was, I mixed the wet ashes with the blood and bone meals. I didn't think it would take much to dry out the mix. The result was a brownie batter kind of mess spread out in the bottom of a baking pan. Remember, I was in an impatient mood. So, the pan was placed into the oven at about 300ºF/149ºC. It was in the oven for awhile. I took it out of oven only after the people with whom I live couldn't take the odor any longer. Out of the oven, the pan was placed atop the range. The batter looked more liquid than when initially placed into the oven. It was a hot gooey brown mess in the bottom of the baking pan. When cooled to room temperature, the batter still quivered a bit when the pan was shaken. Outside there was rain everyday or at least it seemed so. Once the sun was strong and the sky clear, the pan and batter were placed on the patio to get as much bright sunlight as possible. Within a few days the batter had transformed into a solid sheet of brown brittle. What needed to be done was to pulverize the stone-like food into a powder. To start the pulverizing, the pan was carried into the garage where the floor was concrete. That would give a solid foundation for the next step and get us both out of the seemingly never-ending rain. I grabbed a 2lb/.9kg engineers maul and began to bet the brown brittle into small brown chips no larger than 1/2"/13mm. Chips ready to go into a kitchen blender. After hours of perspiration while pummeling and precipitous tinnitus caused by the whirling of the blender blades, all the brown brittle was broken into powder. Blood rich organic brown powder ready to be spread upon the soil in the raised beds of the square foot garden. A powder to feed the stems and roots, fortify the flowers and increase the size and taste of the vegetables. No one said it would be easy. Nor perspiration or pain free. But, it was worth it.
Using the original Square Foot Gardening as a reference, I mixed a batch of organic fertilizer.
The ingredients were:
Blood meal
Bone meal
Wood ash
Measure one part, by volume, each blood and bone meals with two parts wood ash.
Small quantities of blood and bone meals were purchased at a home improvement store. The wood ash was supplied by my neighbor who uses a wood stove to supplement the heating of his house.
I was given the wood ash in a plastic waste can liner a few weeks ago. It was placed under cover on my patio near the raised beds. It rained several days since. Needless to say, the ash was wet when I was ready to mix the fertilizer.
Using a kitchen strainer, I sifted large pieces out of the wet ashes. Then the wet ash was poured into the mug to measure. Since the ash was wet, I figured there was a significant amount of water in the mug along with the ash. Compensating for the water, I increased the amount of ash by 50% to three measures.
Once all the elements were blended, they were placed into a large kitchen pan which which was then placed in the sun. The fertilizer will be mucheasier to handle once the sun dries the mixture.
I planned to plant my first seeds into my square foot garden on St. Patrick's Day. That day came and went and no seeds were planted. There was still plenty of work to do on the plot.
At the end of last growing season I covered the plot with shredded tree leaves that fell on the lawn in the front of my house. Most of the leaves were from Ash, Norway Maple and Copper Beech trees. I reversed my leaf blower to suck the leaves through the blower where they were shredded and deposited into a 40 gallon/151 liter trash can. I then carried the leaves to my backyard and dumped them onto my square foot plot.
This is the square foot plot covered with shredded tree leaves on 14 March 2012
I placed an old tarp on the concrete patio surface to keep from staining the concrete. I then shoveled the shredded leaves onto the tarp. You can see the depressed soil in the plot.
There were approximately 1.75 cu yds/254.85 liters of leaves piled upon the plot in late Oct 2011
I used two different shovels for this project. A pointed spade and a square mouthed shovel. Both have long handles. I don't like the shorter D handled shovels. My back pleads with me not to use them.
The pointed spade is used when digging into a pile or into the soil. The pointed end cuts better than the square end. The square mouthed shovel is used on smooth hard surfaces, like the concrete of the patio or for straightening/smoothing the walls of a hole.
As you can see the shredder didn't do the best job of turning the leaves into small pieces. My leaf blower/leaf shredder is over 10 years old and the plastic blade is most likely dull. These clumps of leaves must be broken up. The leaves will not break down if they are left in clumps.
I loosened the soil in the plot. Using the pointed spade, the soil remained in clumps held together with roots from last years plants. Break up these soil clumps, too. It is not necessary to remove the roots.
I placed a few shovels full of leaves on an empty part of the tarp.
I then placed a layer of plot soil atop the pile of leaves. I continued to layer the two components until I had a lasagna-like pile on the tarp. I mixed the pile until it was as homogeneous as possible. Making sure the leaves are coated with the clay or sand and no clumps of any kind remain. I then shoveled that pile into the square foot plot.
I keep making lasagna piles until I had enough soil to raise the bed about 1'/30 cm above the lawn part of my yard. If you can call that green surface a lawn. I then soaked the soil until it was really, really damp. The fact that the bed is raised, compared to the bed last year, means I won't have the drainage problem I had last May when the rains came for days on end and I lost quite a few of my plants.
To compare the soil structure with my last soil test, I filled the same container 1/3 full of the new soil mix.
I then filled the container with water, leaving about 1"/ 2.5 cm air at the top in order to help mixing the soil and water into a suspension.
As you can see from these two side by side containers, there is much more organic matter in the container on the right.
I found this little guy in my first shovelful of soil from the square foot plot. Earth worms will eat the organic matter added to the soil leaving behind nutrients more readily available to the plants. They also aerate as they borrow thorough the soil leaving channels for water flow.
An interesting fact about earthworms is that there were no earthworms in the Americas until the voyages to the new world with and after Columbus. The earthworms hitchhiked from Europe in the earth loaded into the ships as ballast which was later unloaded onto the soil in the Americas.
Last year I hurriedly constructed a square foot garden. I dug down 2' / 31cm into my "lawn". The details can be found here on my original post. This year I am testing the structure of the soil. I know it wasn't as good as need be.
I found an empty jar with a lid in the recycling bin.
Out to the garden
Loosen the soil and break up the big clods
Fill about 1/3 of the jar with soil
Add water, leaving about 1" / 25mm of air at the top.
Tightly screw on the top.
Shake the jar until all the soil is in suspension.
Then shake it a little more, just to be sure.
What you will have should look like this.
You can see the heavy grains of sand immediately separated out of the suspension after the shaking stopped.
Now let the suspension settle overnight.
Close to 16 hours later, this is what I have.
What are do you see?
The sand that settled to the bottom is there on the right.
Clay, that is the major component of my soil has settled on the left.
What little organic matter in my soil is floating on the top.
The results of this test tell me that my soil is nearly 50/50 sand/clay particles. I lack organic material.
Get out and test your soil. Let me know what you find.